


By Nickolaus J. Sanchez
When you first start gardening, germinating seeds and cloning plants can be very discouraging. Whether your seeds aren’t popping or your clones aren’t rooting, it all can be frustrating. However with the proper technique you should be a pro in no time!
One of the first things to note is that cannabis is a dioecious plant, meaning it contains only a male or female plant. The male produces pollen and the female produces seed. Of course, the female will only produce her seed if she is pollenated by the male. As patients, we want the female plant because the flower is what produces the medicine. For the highest quality flower we want what they call, “sinsemilla” flowers, meaning “without seeds.” Absolutely NO males allowed. This is a women’s den!
So which do you start with, the clone or the seed? Let me explain.
Clones
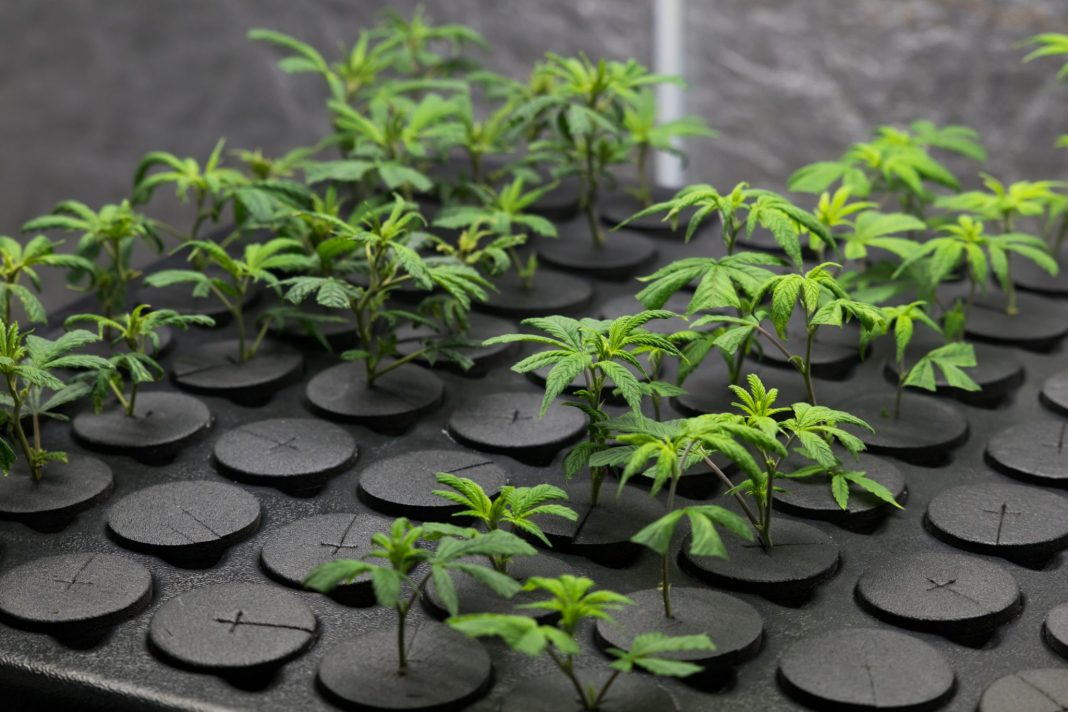
A clone is a genetically identical cutting from a parent plant. All offspring will be identical to the plant they were cut from, this means it has a 100% chance of being female. This will save stress and labor for you, as you won’t have to constantly check for males that could pollenate your grow room. Also, considering that the cuts are from mature, developed plants, you will be set a couple of weeks ahead of the regular grow time. However, like everything there are also disadvantages to using clones. For instance, when you are cutting from another plant, if that plant has health issues, this increases the chances of getting pests and pathogens. Additionally, when you first start growing, finding clones can be difficult considering you do not have a parent plant to begin the process. Once you have the mother to clone, this recipe will explain how to clone it:
How to Clone
Tools Needed: Clone Solution, Razor Blade, Sanitized Gloves, Clone Dome, Purified Water, Rockwool Cubes, Mother Plant, Spray Bottle
Start by wearing gloves and sanitizing all tools and the work station to decrease your chances of getting pests or pathogens. Next, sit your rock wool cubes in the water. The rock wool is what your clone will sit in after being cut. Once all the rock wool cubes are nice and wet – not soaked – it is time to choose a healthy mother plant to cut. Remember she is going to supply your whole crop, so she should be as healthy as possible!
Now that your work area is prepped you are ready to cut your clones. When cutting the clones remember to cut at a 45 degree angle to create a point in the stem. I suggest taking from the top of the plant (the newest growth) because they are less prone to pests and pathogens. The cut should be at least 5″ tall.
Once you have taken your cut, clean off all growth with the razor until you have only two nodes (sections of growth) left at the top. From here simply dip your cut into your choice of clone solution and then gently place the stem in the pre-poked hole of the rock wool cube about 1″-2″ deep. Lastly, place your finished cutting into the clone dome. Before you seal the dome be sure to spray the tray, lid, and plants with purified water to create a humid environment. An adequate humidity is approximately 60%-80% with a temperature of 80 degrees. This will promote fast root development within 7-10 days. Be sure to spray everyday at least twice a day and check cubes for moisture. After clones have fully rooted, you can plant your clones into your choice of soil and start growing.
Seeds
These days the average grower will use clones for convenience but if done properly, growing from seed can have a great number of advantages. One of the biggest ad- vantages is that they have a primary root called taproot, which makes them more vigorous growers. This can result in a healthier plant with a higher yield. Another advantage to using seeds over clones is that it is more natural to the plant itself because cannabis is an annual plant (grows for only one season) so it’s just simply not genetically engineered to have such a prolonged life as a clone.
Just like the clones, seeds have their fair share of disadvantages as well. For example, because you don’t have any growth to start with, like the clones, you don’t have a jumpstart. Also, if you don’t purchase feminized seeds (99% female dominant) 50% of your plants will be males. Not only will you have wasted half of your money but this also means you will have to rummage through and uproot all males. Below is written tools needed and instructions on how to germinate your seed.
How to Germinate
Tools Needed: Seeds, Paper Towels, Purified Water, Two Paper Plates, Gloves.
Start with sanitizing all tools and work station to decrease your chance of pests or pathogens. Once your work area is sanitized, you will want to overlap two paper towels, fold them down three times and then open them back up. Now, place the separated seeds, in the middle of the two overlapped but unfolded paper towels. Fold them back up and be sure the seeds don’t fall out. After your seeds are nice and secure, wet the paper towels and seeds with the purified water. The paper towel should be wet but not dripping. Lastly, place the wet paper towels on one of the paper plates and place the other plate on top, upside down to create a dark dome. Store plates in a dark, room temperature area. After 2-4 days seeds should have a baby white root and ready to be transplanted into your growing medium.


